Sometimes your fence blows over and gives you an amazing idea for your ceilings in your Sprinter buildout!

USING FENCE PANELS FOR CAMPERVAN CEILING
Obviously when our fence blew over, we weren’t incredibly happy about it. But, rather than sending all of those gorgeous cedar panels to the landfill, we decided to take the opportunity to reduce waste and reuse them in our campervan. The panels weren’t very old, so most of them were still in great shape. Using fence panels for the ceiling turned out even better than we could’ve imagined.
Total Project Cost: $125.34
Tools/Items You Will Need
- Fence Panels or other Wood Panels
- Pry bar
- Skil Saw
- Fine Grit Sanding Sponge
- 3 Quarts Polycrylic Sealant
- Paint Brushes
- Lath Screws
- Drill
- Measuring Tape
- Chalk Line
FENCE PANEL CEILING PROCESS:
Truly, installing our ceilings in the Sprinter van was a pretty easy process. It took us two evenings to complete the installation, but prepping took us a few extra days, mainly due to space to leave the panels drying.
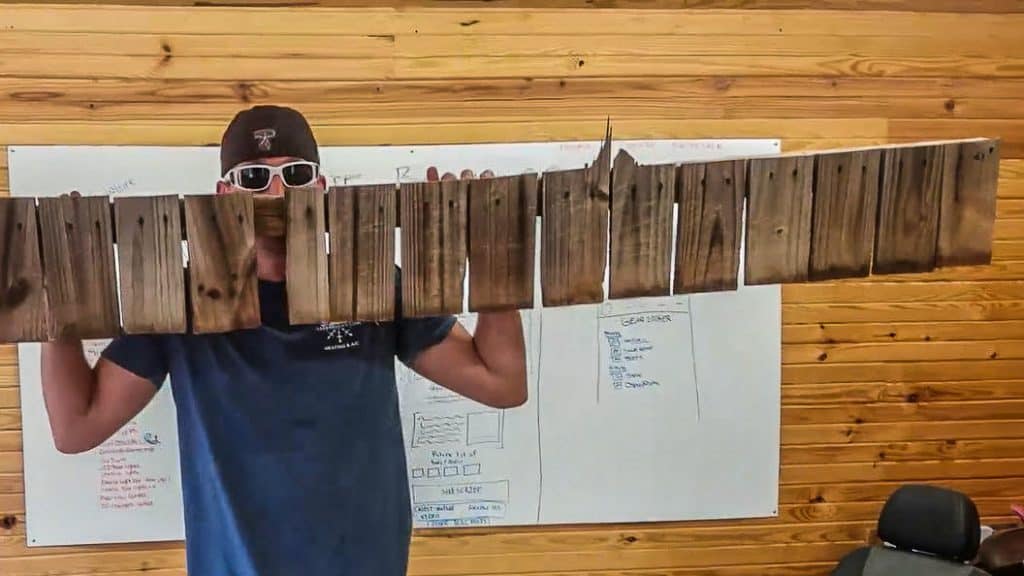
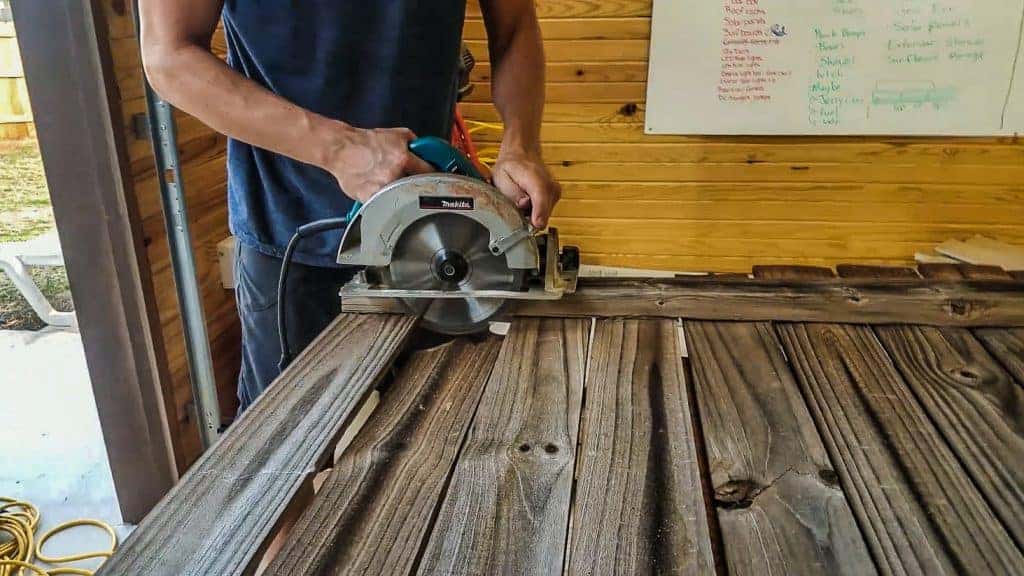
Remove Panels from Posts: Since these panels were part of a fence, the first step was to get them into individual pieces and decide which ones were usable. We used a Skil Saw to cut off the part of the fence that was in/on the ground, as it was badly damaged from breaking off. Then we pried each panel off of the posts, getting rid of the ones that were badly damaged.
Prepping Fence Panels: Once you have your keepers, it’s time to prep them. We started by very lightly sanding the fence panels with fine grit sanding sponges. This smoothed out the surface a bit without losing any of the character of the weathered fence panel. *Note: we did try sanding them with a sander, but it removed too much of the color and took them back to a “like-new” look, which was not what we were going for.*
After sanding them, we blasted the dust and dirt from them with an air hose.
Finally, we sealed them up using a water-based polycrylic sealant. I’m honestly not sure how necessary this was, but we found very little information online regarding it and we wanted them sealed somehow. This was our solution.
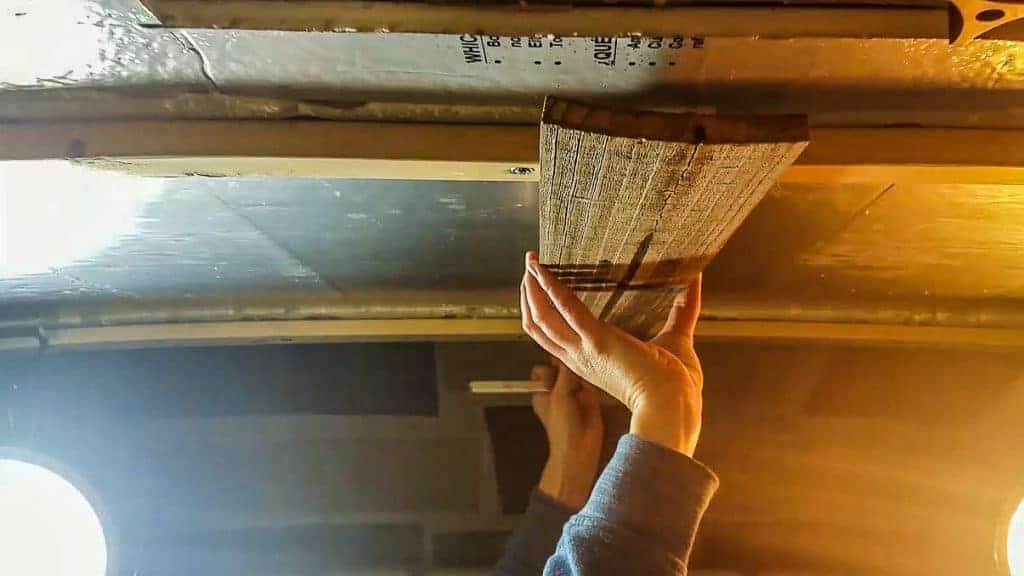
Installing the Ceiling: Using the furring strips that we had installed when we installed our walls, we began attaching the fence panels. Starting from the front of the van in the center and working our way out, we staggered the sizes of panels to give it a less uniform look, similar to how a hardwood floor is typically staggered. We chose to work from the center out because the center would be the most visible once the cabinets were installed, so we wanted that to look as straight as possible in the center.
As we worked down the center, we cut a square out for the MaxxAir MaxxFans on each end of the campervan. We then worked out to the edges of the van. The panels surprisingly fit nearly perfectly to the edges of the van, so there was very little trim work that needed to be done, and the cabinets would cover some of the edges as well.
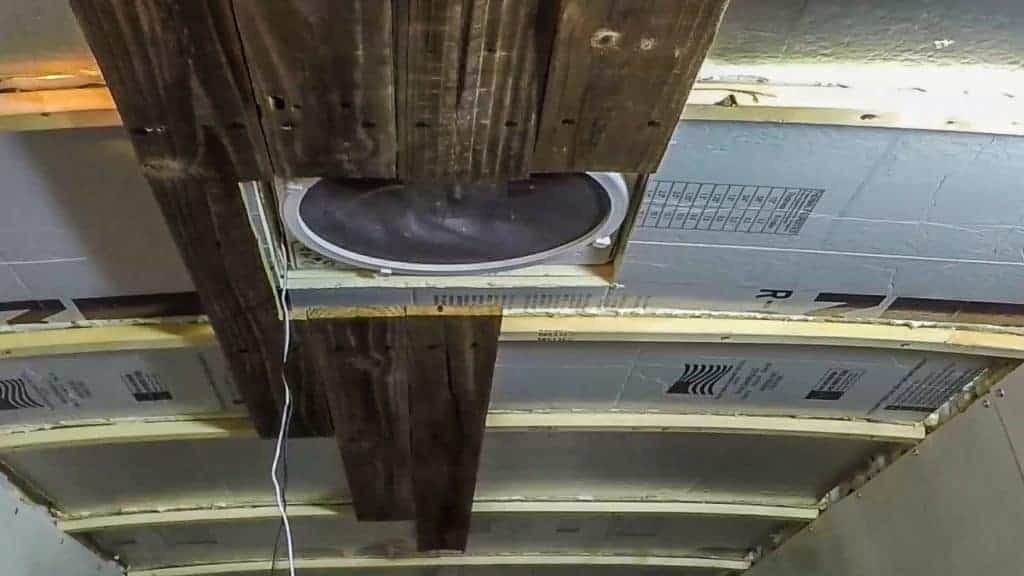
Imperfectly Perfect Look: Overall, we are very happy with how this turned out. There are some gaps in the wood, some are warped out, some are warped in, and some are wider than others. It gives it a very nice weathered look, which is exactly what we had in mind when we decided to use the fence panels for the ceiling of the van.
We’ve gotten several compliments on the ceiling already and we are so happy that we found a good use for those fence panels!


2 Responses
4
5