We’ve opted against adding an air conditioner in our campervan, so we needed to maximize airflow. What better way to maximize airflow than with a MaxxAir MaxxFan Deluxe? I mean, it’s in the name!

Another reason we opted for this particular model, theMaxxFan 7500k, was because it has an aerodynamic, rainproof design that allows you to keep the fan running any time – from driving down the road to a rain shower, we should be able to keep the fans going whenever we want to.
WILL A MAXXFAN DELUXE BE COOL?
I mean, we can’t say for sure yet, but theoretically having 2 MaxxFan Deluxe fans in the campervan will mean that we can circulate enough air to replace the air in the van once every 20 seconds. Basically, we can create our very own wind tunnel in the van! That should be cool enough in most temperatures.

Total Project Cost: $689.93
Tools/Items You Will Need
- MaxxAir MaxxFan Deluxe
- Jigsaw or Angle Grinder
- Drill
- Roof Adapter (instead of making extra cuts. We didn’t know this existed when we did the install. Cool!)
- SikaFlex Roof Sealant (1)
- Butyl Tape
- Good Balance
LET’S GET TO THE MAXXFAN DELUXE INSTALLTION!
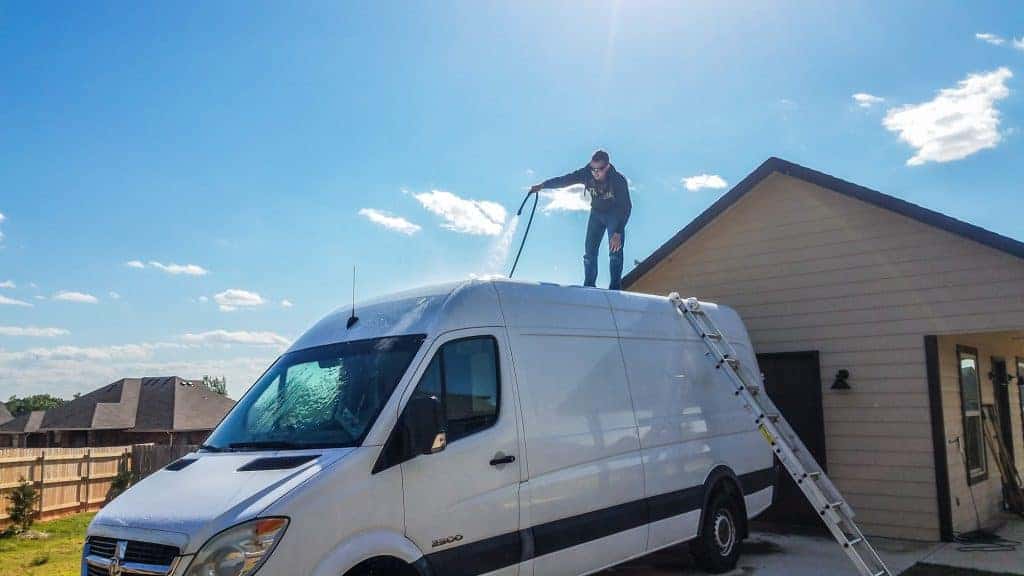
Overcome your fear of heights: We’re going to be on the roof of the van for this one, so this is a grand time to face your fear of heights. Practice your cat-like reflexes on your favorite balance trainer. Seriously, though, you’ll be walking delicately along the roof of the van, so take proper precautions.
Cut a Hole. The hole for the MaxxFan Deluxe should be 14″ x 14″ square. We simply measured where the center of the cutout would be, marked 7 inches on each side of it, then set the flange for the fan down on those marks and used it as an outline. Then we used an angle grinder to cut the hole. It would probably be easier to use a jigsaw, but we forgot to get a metal cutting blade and, let’s be honest, we’re impatient. So angle grinder it was, and it worked just fine!
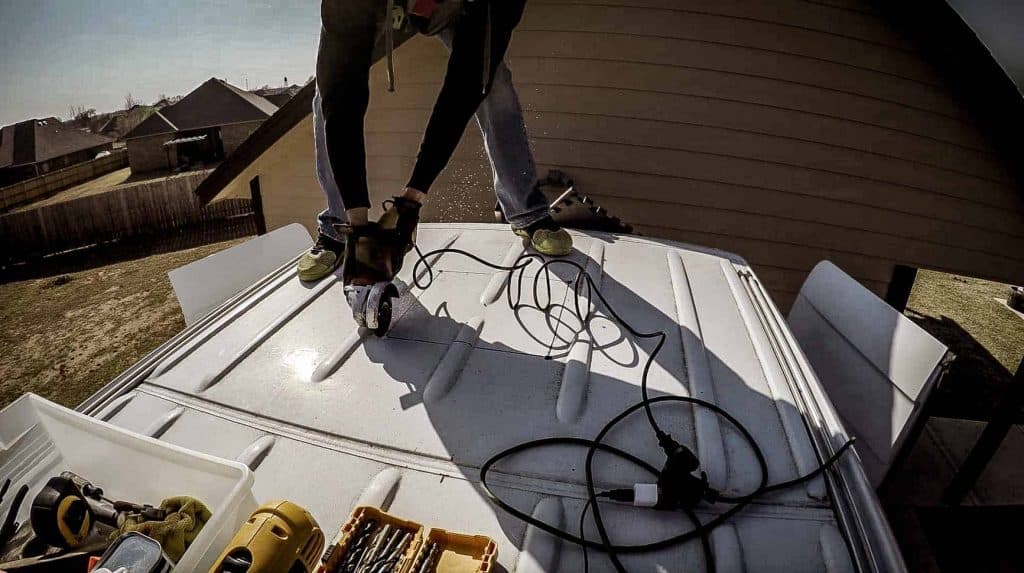
NOTE: They make an adapter for the sprinter roofs so you don’t have to do any fancy cutting to avoid the roof ribs. This is a REALLY good idea. Here is a link to that product. (Roof Vent Adapter)
Clean the metal and apply sealant. Your sealant needs a clean surface to adhere to, so make sure the metal that you just cut is clean and free of dust.
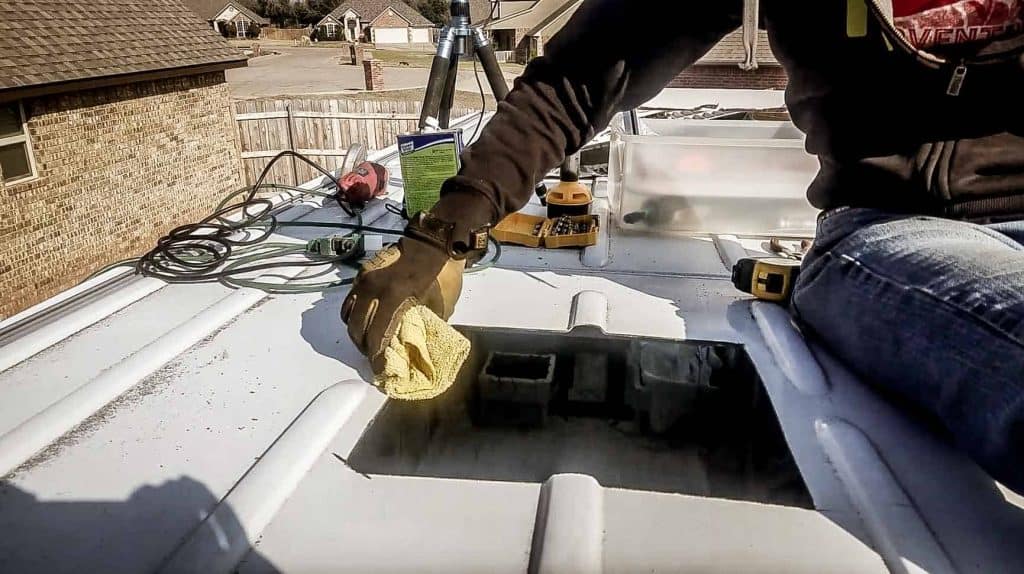
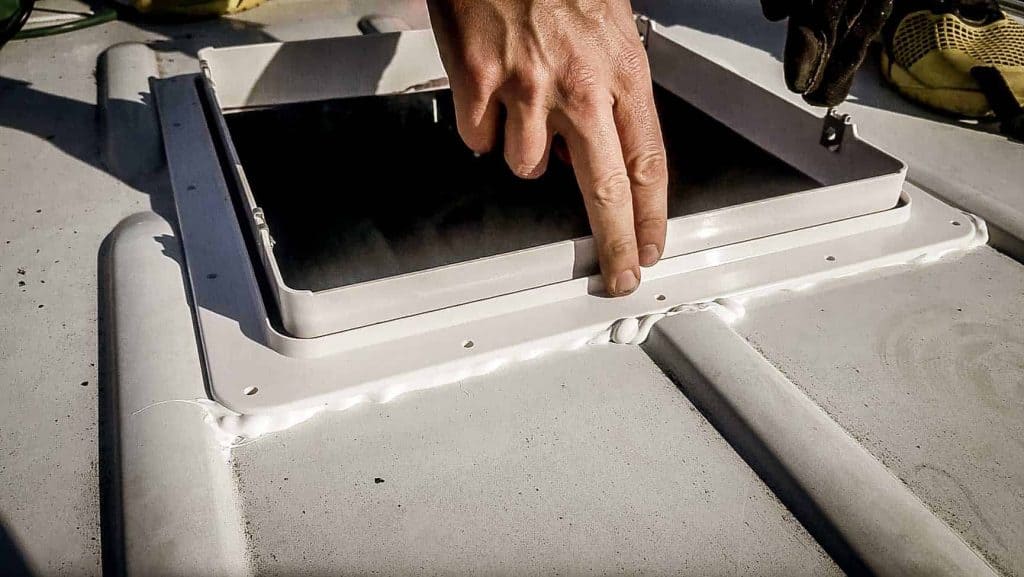
Place a strip of Dicor butyl tape down around the outside of the 14″x14″ hole. You’ll only need one strip of this on each side, so you should use less than 5 feet of the tape per fan installed. 30 feet was the smallest roll we could find, unfortunately. Around the butyl tape, we also applied a thin bead of Sikaflex roof sealant.
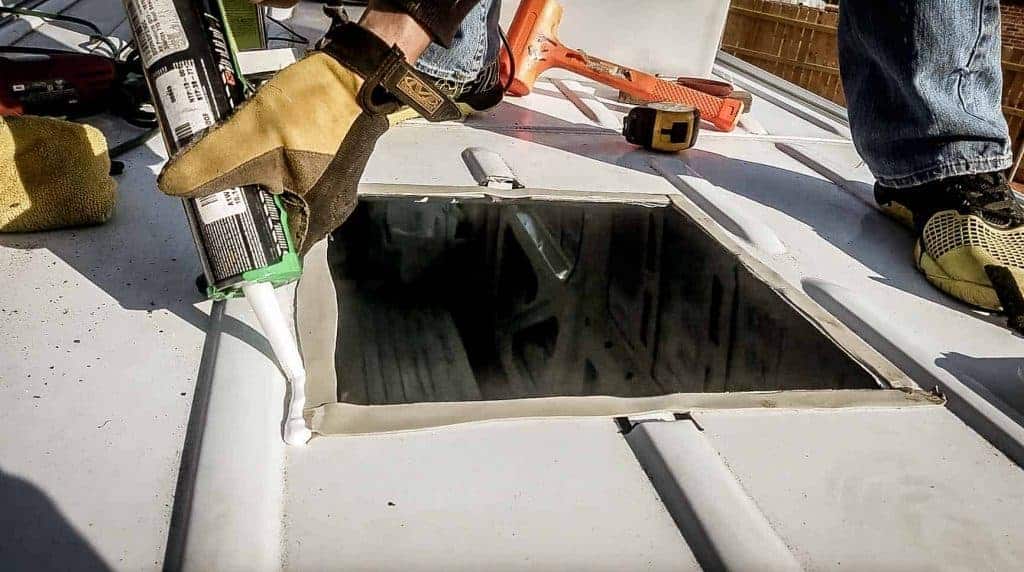
This is self-leveling sealant that is made for roof applications. It is very sticky and doesn’t ever really dry all the way since it is self-leveling, kind of a constant gel so it doesn’t crack. We used less than one tube of Sikaflex for the entire project and sealing a few other holes around the campervan. That stuff goes a long way, even with Nate being quite generous on his application!
Install the flange: Make sure the little metal clips are facing the sides of the van or wherever you want the side of the MaxxFan to face and put the flange down on top of the butyl tape. Screw the flange down, making sure you don’t use the wrong screws like we did the first time. Not a huge deal, just a quick trip to Ace to fix it that we didn’t want to do. Reading the instructions prevents these issues. But who does that?
More Sealant! No one wants a leaky roof, so of course, more sealant is in order here! We added a bead of sealant around the edges of the flange and on top of the screws.
Place the fan on top of the flange. As simple as this sounds, putting the fan in place was actually more difficult than we thought. Pro Tip: pop the metal clips up about 1/8th of an inch using a screwdriver before you put the fan in. That gives you a little wiggle room to get the holes lined up properly.
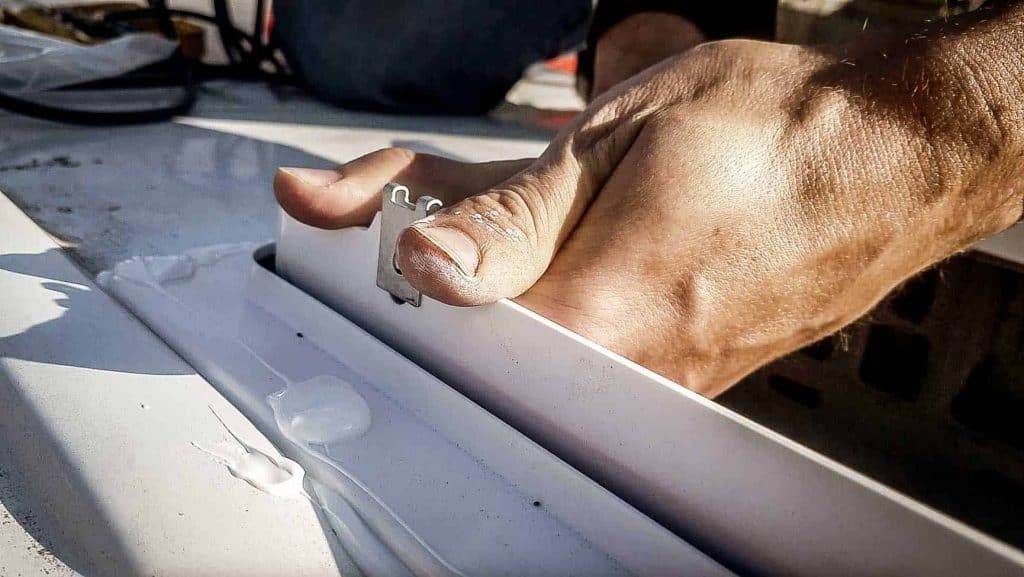
The instructions say to make sure they are down, but that is totally untrue. Up worked way better! Once the holes are lined up, screw the fan in place with the 3/4 inch #10 screws (we know this because we had to buy more, but they are included for you).
Once that is complete, the only thing that is left to do is to wire the fans to your 12v distribution fuse block and install the trim ring. Installing the trim ring is covered in the installing the ceiling section of this build.

10 Responses
Hello! We are having a hard time wiring our fan!!! Should it be fan to fuse to battery, or fuse to solar charger??
Fan to DC distribution panel, which is protected by a fuse.
How to wire a power distribution panel: https://www.explorist.life/how-to-wire-a-power-distribution-panel/
System Diagrams: https://www.explorist.life/solarwiringdiagrams
Does it matter which way the fan is oriented on the roof? I mean facing forwards or maybe backwards for streamlining? Can it be used while driving?
Yes, the direction matters. Install according to manufacturers recommendations. It can indeed be used while driving.
I really love everything about your conversion, great job! The camper looks amazing and shows the hard work put into it. You guys did an awesome job on the roof vent installation.
Thanks Jennifer!
Now that it’s been a couple years since you’ve started your journey, would you say that two fans will keep the van cool in 100F weather? I ask because I have 5 dogs and would need something constantly running while at a dog show.
Thank you!
Hey Katie! No, the fans will only keep the inside as cool as it is outside of the van. The dual fans, in our experience, will keep the inside temperature within 2-3 degrees of the ambient outside air temperature. This means, if it’s 100 degrees outside, it will be somewhere between 100-103 inside. There will be a breeze and the inside of the van will be ‘in the shade’, but 100 degrees under a shade tree is still hot.
So, would you say it’s still worth having two fans or would the one still be enough in a 170 Sprinter?
I would 110% have 2 fans again.