

First and foremost, this isn’t going to be a “how to build camper cabinets” blog post or video. While the cabinets turned out beautiful (in our opinion), we do not feel qualified to give a full tutorial on cabinetry. So, this is more for inspiration and FYI…
DESIGNING OUR CAMPER VAN CABINETS
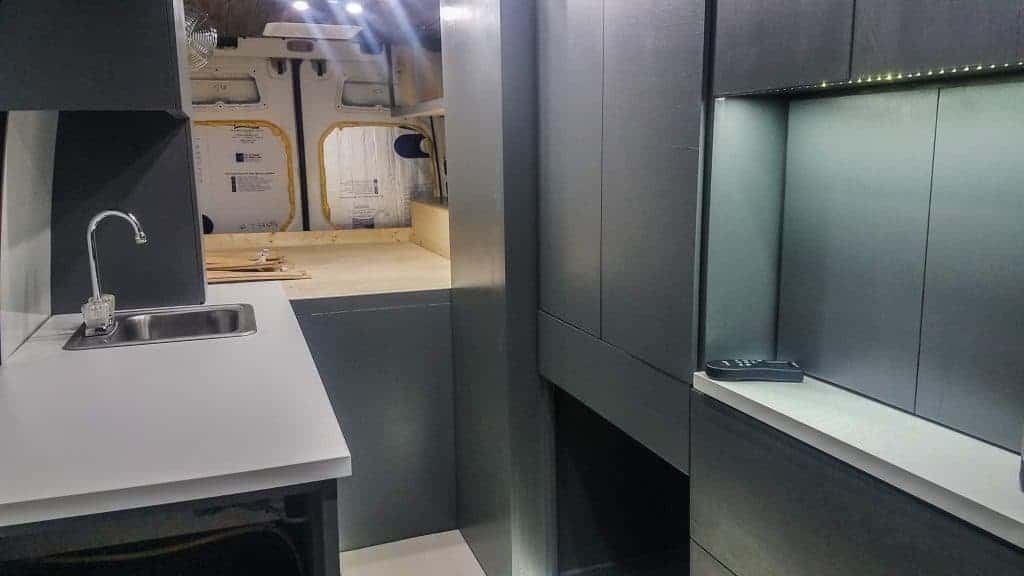
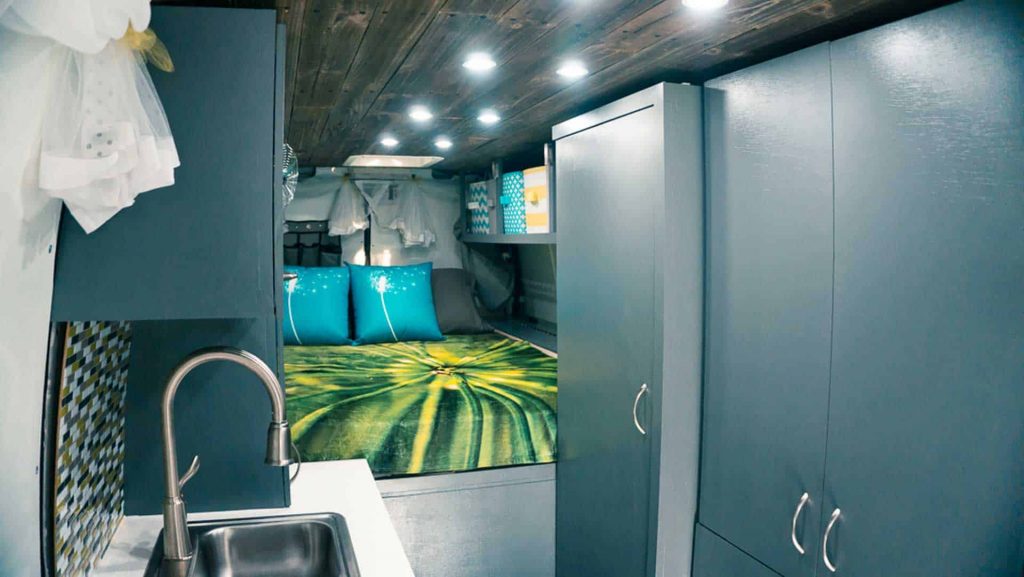
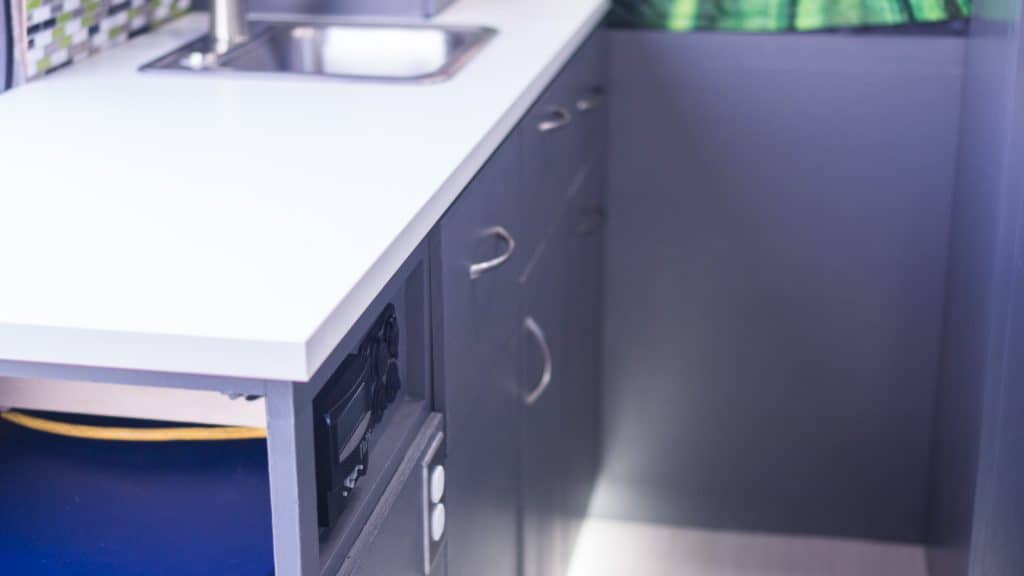
Our inspiration on our cabinets was to be modern and sleek. We wanted clean lines, slick grey faces, and modern door pulls. We topped it all off with square, white countertops.
Making to most of the small amount of space that we had was the biggest challenge while building our cabinets. We wanted to have a place for everything, so we attempted to build things to particular specs for our things, such as the coffee maker cabinet (built to be exactly the size of our coffee maker). But that wasn’t always possible, of course!
Total Project Cost: $1,143.99
TOOLS
- Sande Plywood – 1/2 inch
- Pine 1″x2″ boards
- Pine 1″x4″ boards
- Soft Close Drawer Slides
- Drawer pulls/knobs
- Self Closing Hinges
- Skil Saw and Jig Saw
- Finish Nailer
- Finish Nails
- Gorilla Glue Wood Glue
- Large Wood Clamps
- Large Lag Screws
- Primer and Paint
- Fine Grit Sand Paper
- Sander
- Peel & Stick Tiles
OUR PROCESS TO BUILDING CABINETS IN OUR CAMPERVAN
Since we are not woodworkers and this was a lot of trial and error on our part, I’m going to just outline some of the highlights of the cabinet installation. We did not keep a log of our exact steps like we have before, so this is really not a “how-to” this time. Feel free to ask us any questions that you do have and we will do our best to answer them.
Measuring Technique: What ended up working really well for us was to have each of us take measurements independently of each other, then compare. We found out that this drastically minimized our mistakes; and if we were wrong, it was both of our fault equally. So, we’d each take measurements for the piece, write them down, then compare notes. If we disagreed, we would revisit that area and decide from there.
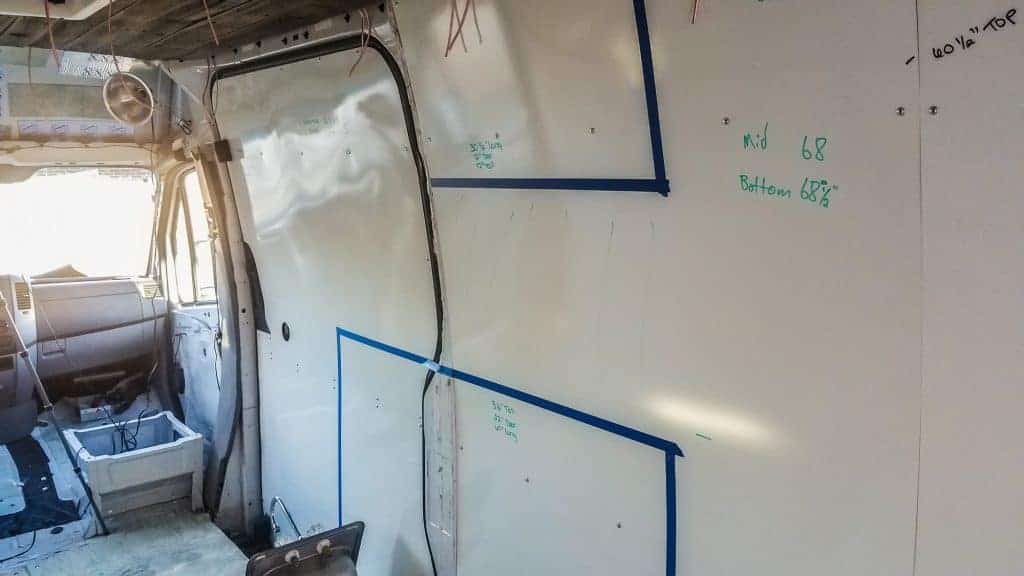
Layout: To get our layout right(ish), or at least to get both of us on the same page, we used painter’s tape to decide where each piece of the cabinetry would go. That gave us a visual to work from as we built the pieces.
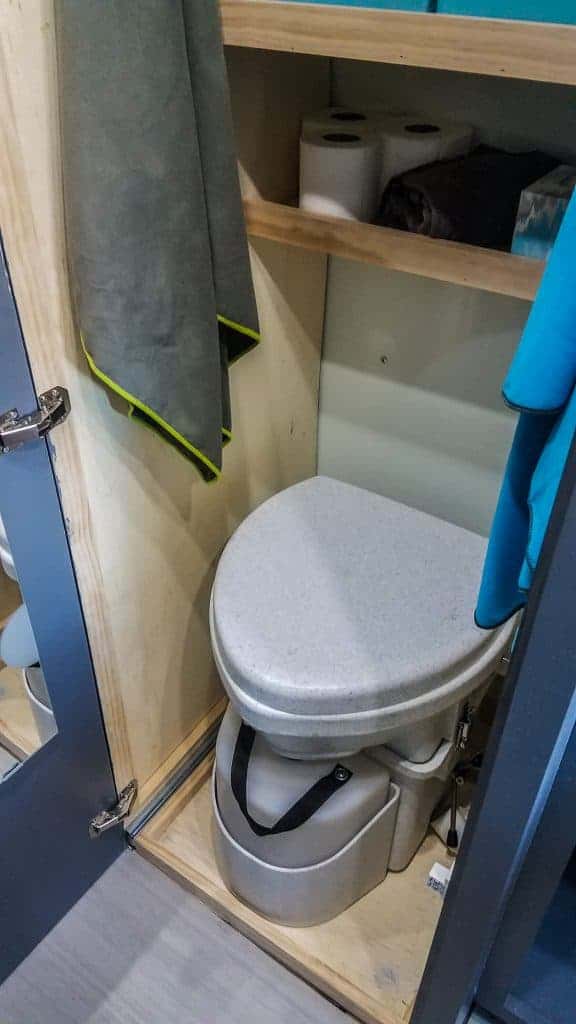
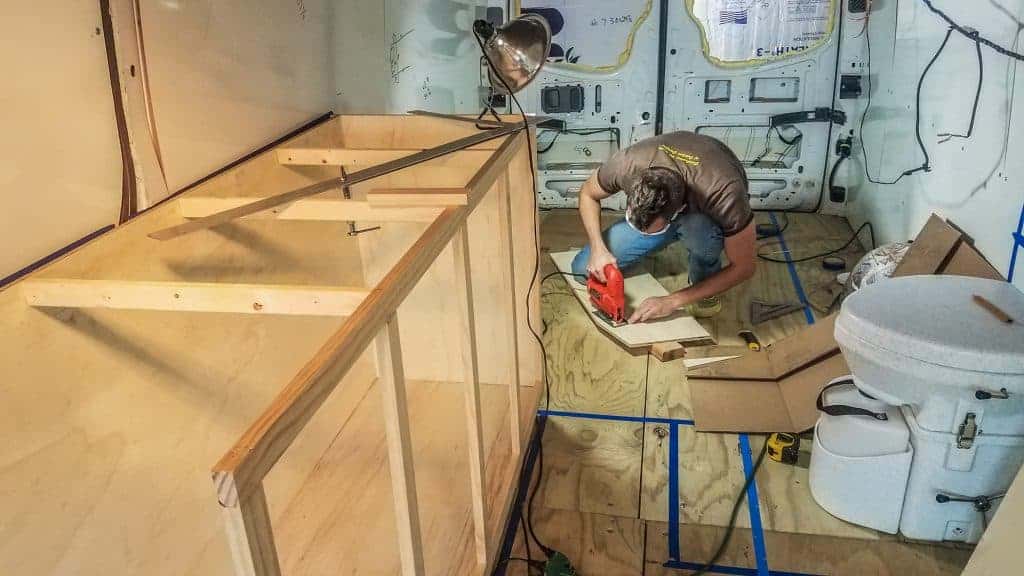
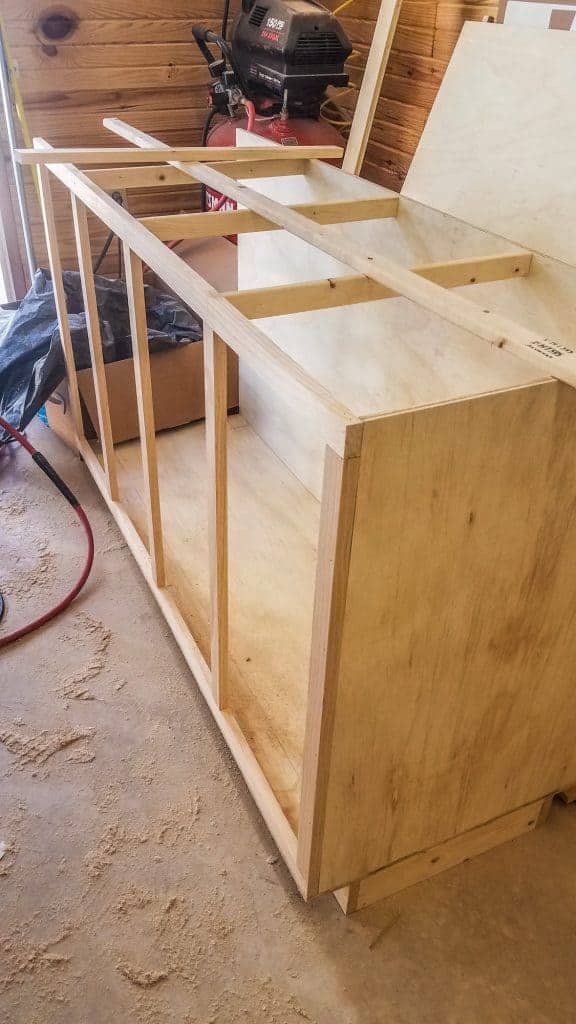
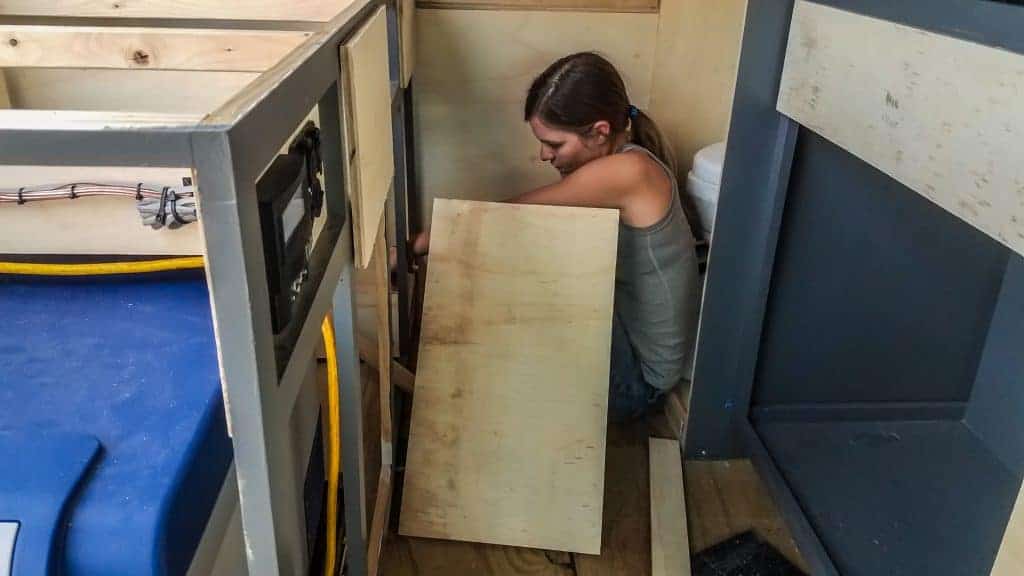
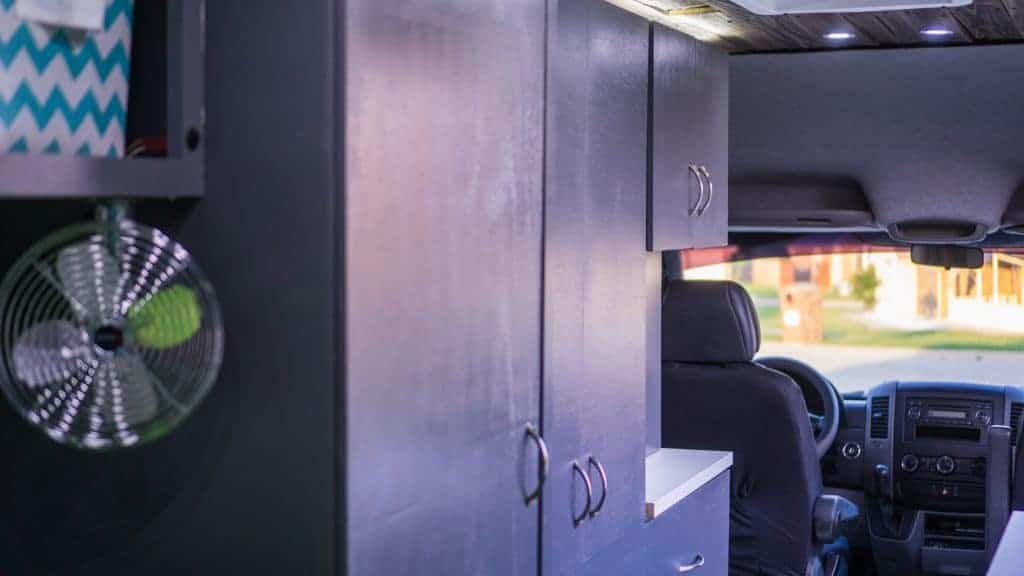
Modular Design: Since we wanted to make these cabinets in the shop and move them into the van individually, we actually made them in four separate pieces, which were attached to each other once they were in the van. The only piece that was made in place was the bathroom, since the walls are floor to ceiling. That was also the most difficult piece to build, since it was in place.
The remaining pieces were built in this order: Kitchen Module, Upper Kitchen (coffee maker) Module, Gear Storage Module, and Closet Module. The bedroom has an upper shelf and a lower chest. We essentially built from the bottom up on each side, squaring the top pieces to the bottom pieces.
Major Mistakes: Really the only major mistake that we made was on the initial Upper Kitchen Module. We ended up having to scrap the first one we made because it was nowhere near square. Trying to “shape” a 1/2 inch piece of plywood is not a good idea… We ended up using a piece of the wall material for the back of that piece, and all of the other cabinets are “open” in the back, which just butts up to the wall.
Aside from that, our mistakes were fixable. We made one set of drawers a full inch too wide, but we were able to salvage them and correct our mistake.
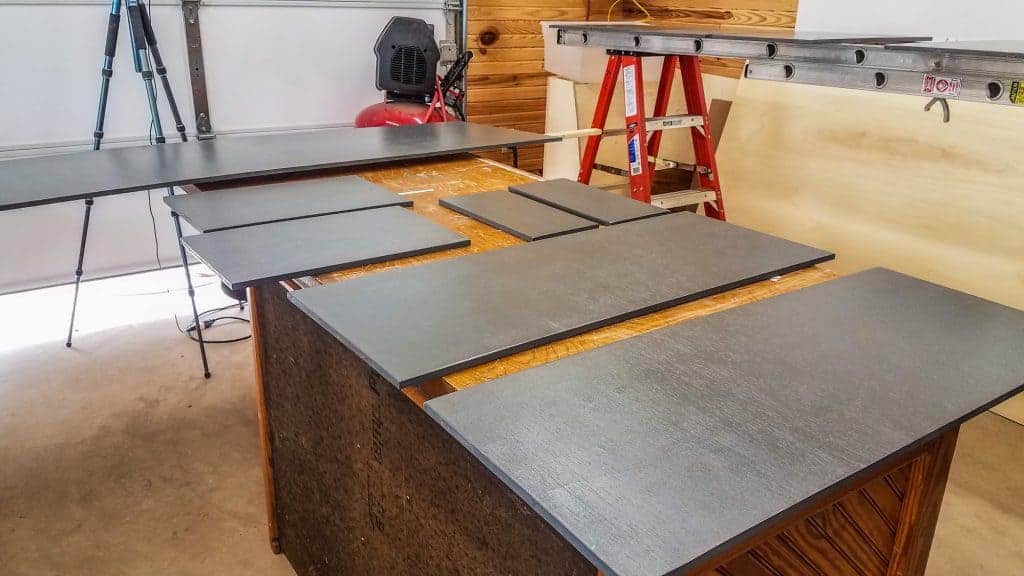
Painting: My biggest tip on painting is to BE PATIENT. We did two coats of primer, followed by three to four coats of paint, sanded smooth in between each coat. Yes, it was tedious and took a long time; but it did make the final product look and feel very smooth.
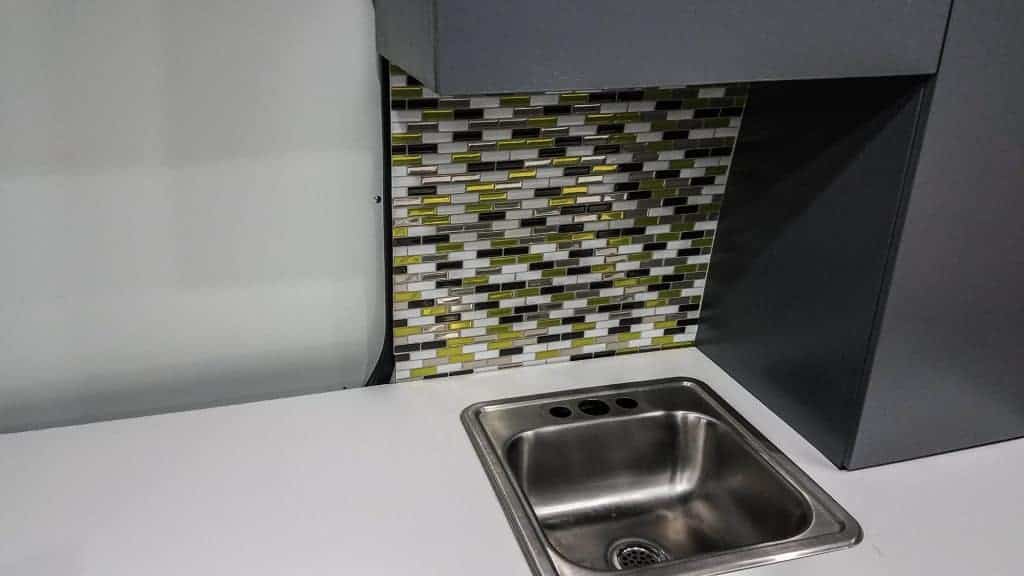
Finishing Touches: To finish off our cabinets, we added a funky green Smart Tile backsplash behind the sink. This is just peel and stick and is super easy to install (and lightweight). *Note: I did get the green tiles on clearance and as of this blog post cannot find that color anymore* We topped the cabinets with a sleek white countertop from Ikea and slimline cabinet and drawer pulls. Since the upper cabinet in the bedroom is all shelving, we added colorful totes to the shelf for a pop of color.
Also, for those wondering or who have already asked, the big open space beneath our “closet module” is our Doberman Pyros’ bed area. She will have a bed in that little cubby so that she will always have a place to hang out. Sparta, our little pup, will sleep in the passenger seat and will have a bed on the floor of the passenger side so that he has a place also.
When we finally finished and took a step back, we are very proud of our work! It looks great in there and is finally coming together as a campervan. Below is a sneak peak of the decor as well.

3 Responses
Hey Thank you for your informative piece. Great work
Thanks Aaron!
5