
Removing the door panels is our next step in prepwork for our campervan build. We are thinking about adding some insulation in the door panels, but if not, then we at least want to clean those nasty suckers!

REMOVING THE DOOR PANELS: TRICKY!
This was probably the trickiest part of the prep phase. You definitely want to make sure you don’t break anything (much) or damage the panel. It was doable, but it took us a minute to figure out how to do it witout damaging anything. But, we did it!
Tools/Items You Will Need
THE NITTY GRITTY
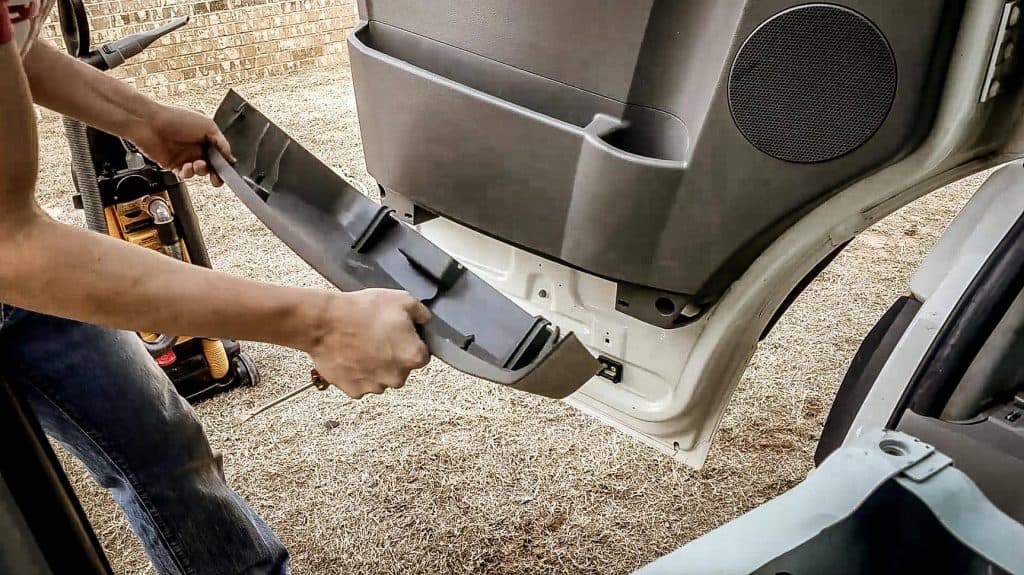
Remove the storage box: We didn’t even realize there was a storage box in the door panel till we went to remove them! You’ll need to take these off first. Just open them up and then pull straight up. They pop right off.
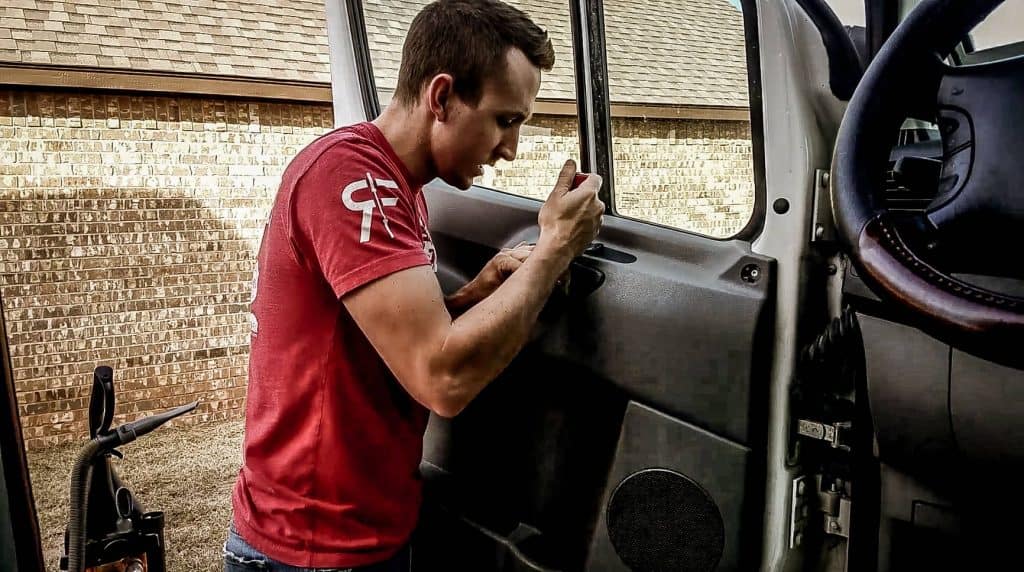
Remove the trim rings around the door latch and door lock. These are just clipped on, so you can get your chisel or upholstery clip remover and pry behind them. The trim around the latch pops off and there are two bolts behind it.
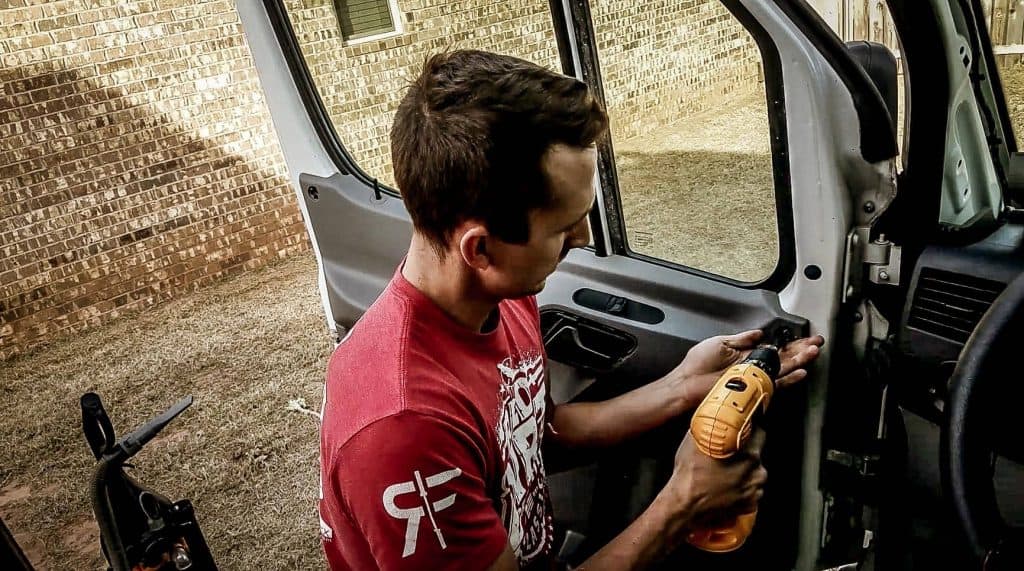
Remove the bolts. There are 6 torx head bolts total, two behind the door latch trim, two behind the storage box, and one on each side of the top of the door panel. These are behind two covers that just pry off. Lots of prying here!
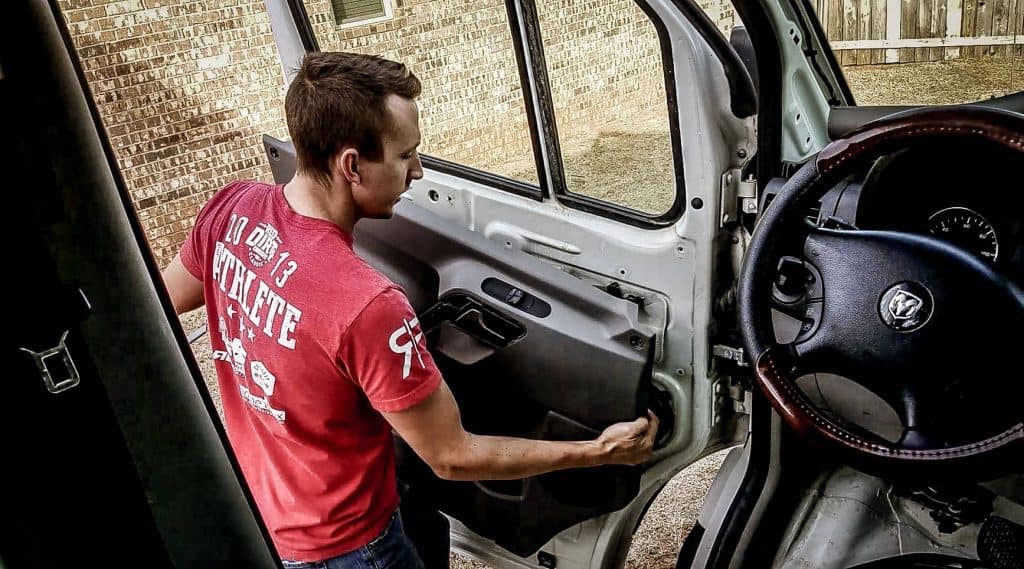
Disconnect the wiring: Once the panel is off, the wiring for the power windows and locks needs to be disconnected. Just pull the connectors apart on this one.
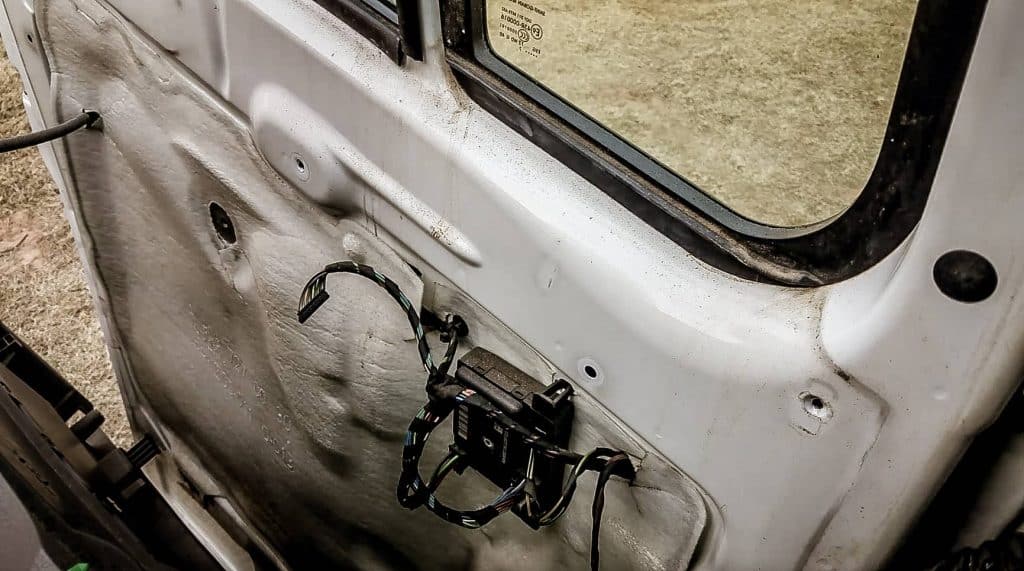
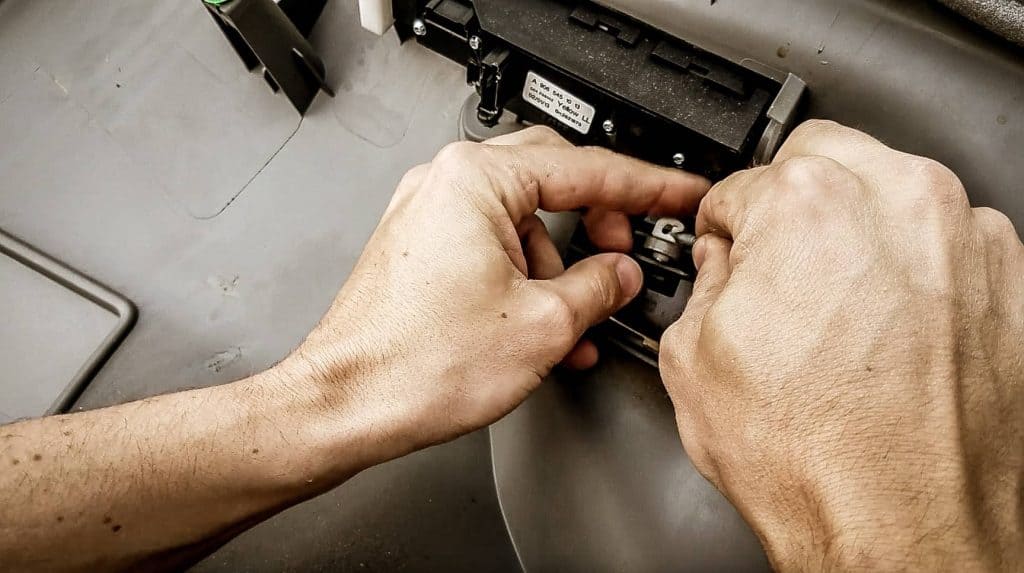
Disconnect the door latch: The door latch mechanism is a little tricky to disconnect if you’ve never seen one of these connectors before. The white clip pulls up and spins around and then the clip just pulls out. Confusing to read, I know. Watch the video to be sure you understand what’s happening! That’s the last step to get the door panels off!
Remove the panels on the back doors: The wall coverings on the back door panels are held together with little plastic rivets, which are a pain to remove gently. We had no plans to reuse these panels since they were busted up, so we just broke off the rivets with a chisel and hammer. If you do want to reuse the panels, the rivets are cheap to replace. Definitely not worth spending hours trying to get them out gently!
And that’s all there is to it! Reverse the steps to reinstall the door panel.
